|
(2) To use the HDMI to CSI-2
bridge, you will need to enable legacy support for the
camera. |
|
(2.1) |
Open a terminal window and type the
following command: |
| |
pi@raspberrypi ~
$
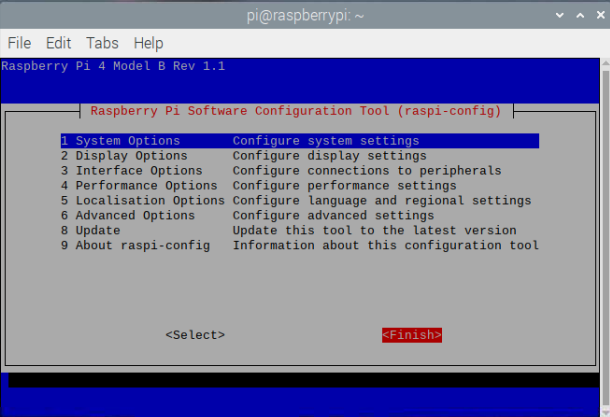
sudo raspi-config |
| |
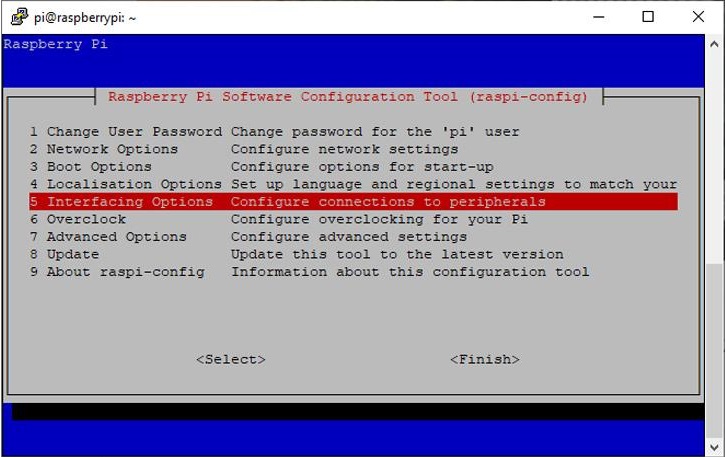
Use the cursor keys to scroll down
to "Interface Options" and press the ‘Enter’ key. |
| |
 |
| |
|
|
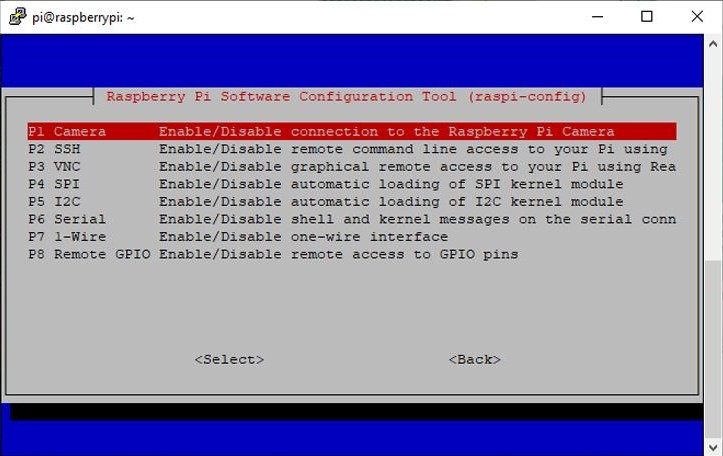
(2.2) |
Make sure ‘Legacy Camera
Enable/disable legacy camera support’ is selected and press
the ‘Enter’ key. "
Use the cursor keys to select and press the ‘Enter’
key |
| |
 |
| |
|
|
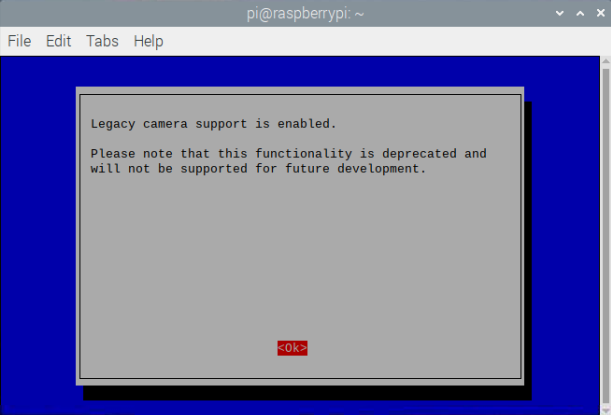
(2.3) |
Press ‘Enter’ again to confirm
|
| |
 |
| |
|
|
(2.4) |
Use the cursor keys to select
"Finish" |
| |
 |
| |
|
|
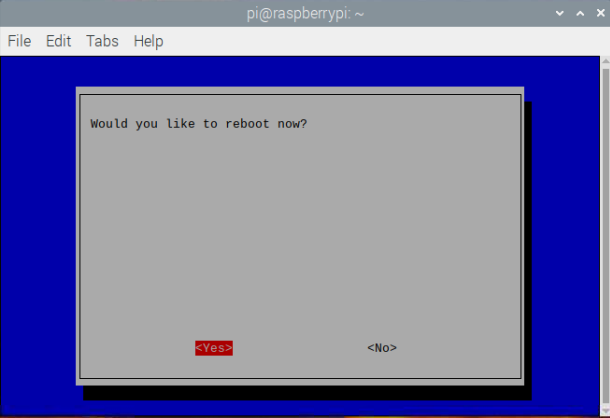
(2.5) |
Press ‘Enter’ to reboot. . |
| |
 |
| |
|
|
(2.6) |
Once rebooted,
Open a terminal window by clicking the black monitor icon in
the taskbar: |
|
|
 |
| |
|
|
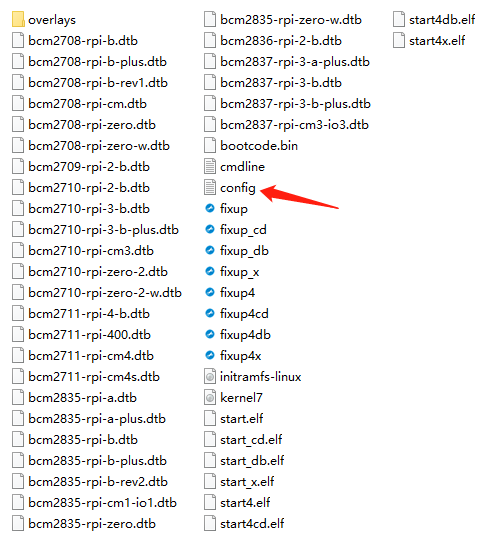
(2.7) |
Download the
required file /boot/dt-blob.bin |
| |
pi@raspberrypi ~
$
sudo wget
https://datasheets.raspberrypi.org/cmio/dt-blob-cam1.bin -O
/boot/dt-blob.bin |
| |
|
|
(2.8) |
Reboot for the
dt-blob.bin file to be read |
| |
pi@raspberrypi ~
$
sudo reboot |
| |
|
|
(2.9) |
Open the Terminal and run the command to check if the HDMI
to CSI-2 bridge is being seen by the operating system. |
| |
pi@raspberrypi ~
$
vcgencmd get_camera |
| |

|
| |
|
| |
You should get back
supported=1, detected=1, indicating that the
CSI-2 bridge is detected and supported by the operating
system. If you get detected=0, then the CSI-2 bridge is not
being seen by the operating system. |
| |
|
|
(3) Connect the carrier
board to a video output device |
|
(3.1) |
Locate the
miniHDMI video input port |
| |
Photo1 |
| |
|
|
(3.2) |
Connect your video
output device to the carrier board using an HDMI-to-Mini
HDMI cable |
| |
photo2 |
| |
IMPORTANT!
The HDMI to CSI-2 bridge only accepts HDMI input: 1080p30,
1080p25, 720p30, 720p25 |
| |
|
|
(4)
Control the HDMI to CSI-2 bridge via the command line |
| |
|
|
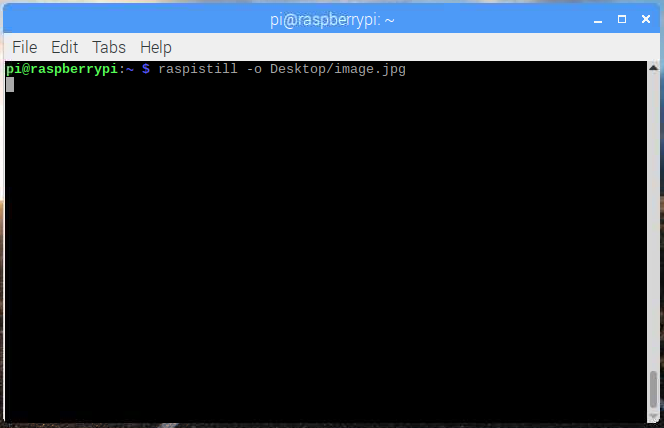
(4.1) |
Open a terminal
window and Type in the following command to take a still
picture and save it to the Desktop: |
| |
pi@raspberrypi ~
$
raspistill -o
Desktop/image.jpg |
| |
 |
|
|
|
|
(4.2) |
Press Enter to run the command.
When the command runs, you can see the camera preview open
for five seconds before a still picture is taken. |
|
|
 |
|
|
|
|
(4.3) |
To record a video using the
following raspivid command: |
| |
pi@raspberrypi:~
$
raspivid -o
Desktop/video.h264 |
|
|
In order to play the video file, double-click the video.h264 file
icon on the Desktop to open it in VLC Media Player. |
| |
|
|
(5) Install GStreamer
on CM4 - For advanced programmers and advanced applicaitons |
|
(5.1) |
Check out this
link- |
| |
https://qengineering.eu/install-gstreamer-1.18-on-raspberry-pi-4.html |
| |
|
|
(5.2) |
GStreamer official
website |
| |
https://gstreamer.freedesktop.org/ |
| |
|