|
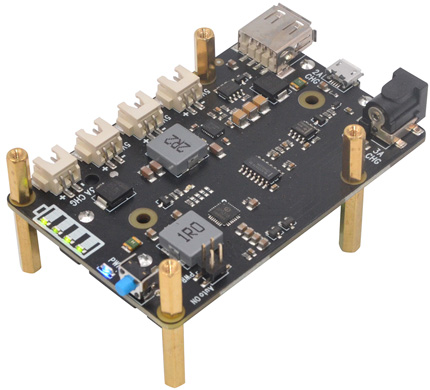
DC Power input jack |
4.7~5.5Vdc ±5%,
≥3A |
|
DC Power Plug Size |
5.5*2.5mm |
|
Micro USB power input |
4.7~5.5Vdc,
2.5A |
|
Power input / output connector |
XH2.54mm 2pin |
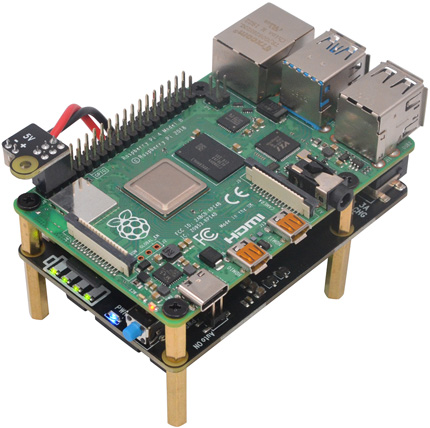
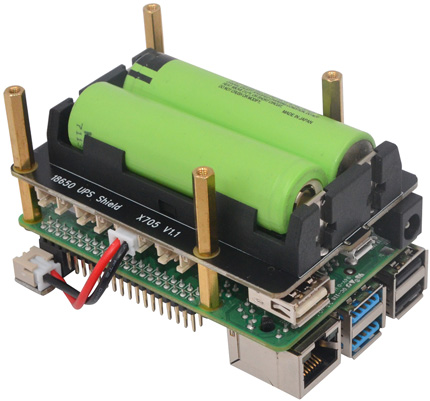
1. X705 powers the
Rpi via the 40-pin header (Pin 2 & 4)
2. Don't power the Rpi via the Pi's Micro USB or Type-C socket
3. X705 can be powered via the DC jack
or
Micro USB power socket
or XH2.54 connector. |
|
|
Pin Number |
Usage |
Pin 2 and Pin 4
(Auto ON) |
Short
- Auto power-on when power applied |
| Open
-
Power on when power button pressed |
Pin 1 and Pin 3
(PWR SW*) |
Pin3
- Power on/off control connecting to
external switch |
| Pin1
- 0V
connecting to external switch |
*Please use momentary power switch only. |